Come Fare i Burpee: Guida alla Tecnica, Muscoli e Varianti
Why Burpees Are the Ultimate Full-Body Exercise

The burpee is the exercise everyone loves to hate — and for good reason. It combines a squat, a plank, a push-up, and a vertical jump into one seamless sequence that torches calories and builds real-world athleticism. No other bodyweight movement hits as many muscle groups in as little time.
A study published in the Journal of Strength and Conditioning Research found that burpees produced a significantly higher heart rate and oxygen consumption than standard bodyweight squats or push-ups performed at the same perceived effort. In practical terms, that means burpees give you more cardiovascular conditioning per minute than almost any other zero-equipment exercise.
Muscles Worked
The burpee is four exercises compressed into one, so the muscle recruitment is extensive:
- Squat phase: Quadriceps, glutes, hamstrings — drive the standing and jumping portions
- Plank to push-up: Pectoralis major, anterior deltoids, triceps — control the descent and drive the push-up
- Core stability: Rectus abdominis, transverse abdominis, obliques — prevent hip sag throughout the plank and push-up
- Jump phase: Calves (gastrocnemius and soleus), hip extensors — generate the explosive vertical push
- Stabilizers: Serratus anterior, rhomboids, erector spinae — maintain alignment throughout each transition
Very few exercises demand both muscular endurance and explosive power simultaneously. The burpee does exactly that, which is why it has been a staple in military fitness tests, CrossFit workouts, and combat sports conditioning for decades.
Burpee: Step-by-Step Form

A proper burpee flows through four distinct phases. Speed comes later — learn the positions first.
Step 1 — Stand tall: Start standing with feet shoulder-width apart, arms at your sides. This is your reset position between reps.
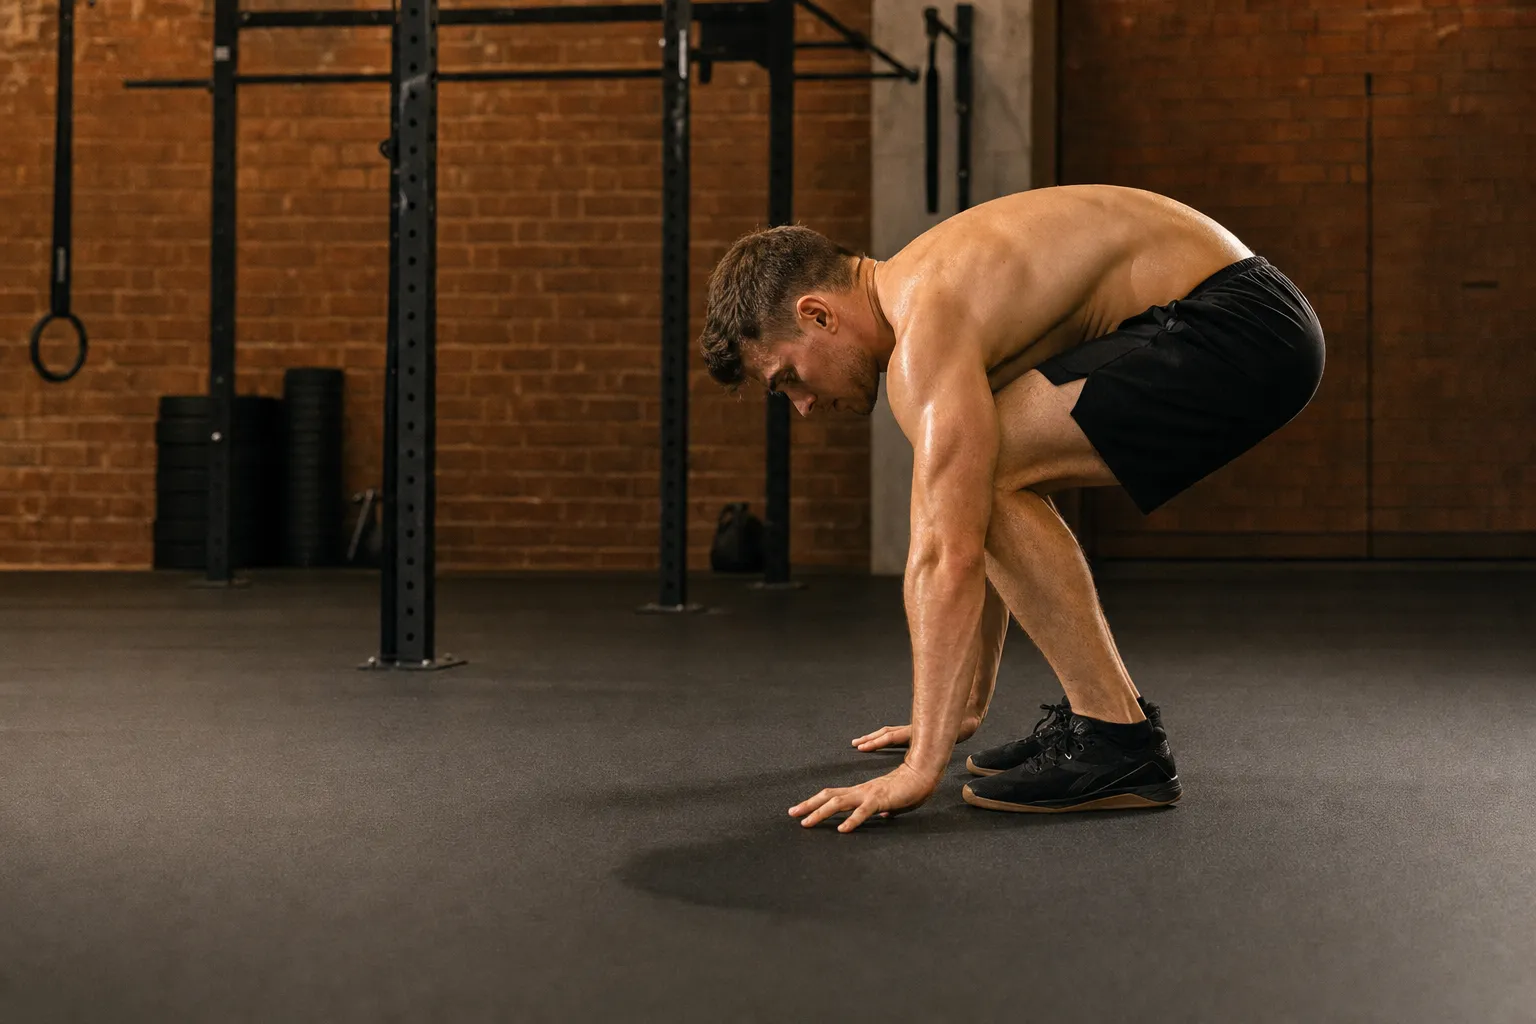
Step 2 — Drop to squat: Bend your hips and knees simultaneously and place your hands flat on the floor in front of you, just outside your feet. Your weight should shift into your hands as you prepare to jump back. Do not round your lower back — keep your chest up as much as possible during this transition.
Step 3 — Jump to plank and push-up: Jump both feet back to a straight-arm plank position. Your body should form a straight line — no sagging hips or piked butt. Perform one push-up: lower your chest to the floor with elbows at about 45 degrees, then press back up. This is the phase most people skip, and it is the one that makes the burpee a true full-body exercise.
Step 4 — Jump forward and explode up: Jump both feet forward toward your hands, landing in a deep squat position. Drive through your heels to explode upward into a vertical jump, arms reaching overhead. Land softly on the balls of your feet with slightly bent knees to absorb the impact. That is one rep.
The American College of Sports Medicine (ACSM) classifies the burpee as a high-intensity plyometric exercise. For beginners, the jump-back and vertical jump should be replaced with stepping movements until coordination and joint strength are established — typically 2–4 weeks of consistent practice.
Burpee Variations for Every Level

The standard burpee is intense. If you cannot do it with clean form, there is no shame in modifying — in fact, modified burpees build the foundation you need to earn the full version.
| Variation | Difficulty | What's Modified | Who It's For |
|---|---|---|---|
| Step-back burpee | Beginner | No push-up, step feet back one at a time | Complete beginners |
| Half burpee | Beginner | No push-up, no jump — just stand up | Building coordination |
| Standard burpee | Intermediate | Full sequence with push-up and jump | Baseline for conditioned athletes |
| Burpee with tuck jump | Advanced | Replace vertical jump with knees-to-chest tuck | Plyometric power training |
Progression strategy: Start with 3 sets of 5 step-back burpees. Once you can do 10 clean reps, add the push-up. Once 10 reps with push-up feels manageable, add the jump at the top. Each phase typically takes 1–2 weeks to master. In my experience, the biggest mistake is rushing to the full version before the plank-to-push-up transition is smooth — this leads to sloppy push-ups that do nothing for your chest and triceps.
The tuck jump variation is only for athletes who have been doing standard burpees for at least 4–6 weeks. The added landing force significantly increases the demand on your knees and ankles, so you need a base of joint resilience before attempting it.
Common Burpee Mistakes
Burpees fatigue you fast, and fatigue breeds form breakdown. These are the errors that turn a productive exercise into a joint-punishing mess:
1. Skipping the push-up: The most common shortcut. Going straight from plank back to squat removes the only upper-body pushing component and turns the burpee into a glorified squat jump. Fix: If you cannot do a clean push-up, drop to your knees for the push-up portion — this keeps chest activation in the movement while reducing the load.
2. Rounded back on the way down: Bending over with a flexed spine to reach the floor stresses your lumbar discs. Fix: Hinge at the hips first, then bend the knees. Think about sitting your hips down between your hands rather than folding forward from the waist.
3. Stiff-legged landing: Landing from the jump with straight knees sends a shock wave through your knee joints and lower back. Fix: Land on the balls of your feet with knees slightly bent, then immediately drop into the squat for the next rep. The landing and the next squat should feel like one continuous movement, not two separate actions.
4. Sagging plank: When your core gives out, your hips drop toward the floor during the plank/push-up phase, loading your lower back instead of your abs and chest. Fix: If your hips sag, the set is over. Rest 60–90 seconds and try again. Building core endurance takes time — do not force it.
5. Going too fast, too soon: Sprinting through burpees with sloppy form just to hit a rep count. Speed without control leads to wrist, shoulder, and knee injuries. Fix: Slow down. Focus on hitting each position cleanly. Once every rep looks the same, then you can increase speed. A good benchmark: if your push-up depth varies wildly from rep to rep, you are moving too fast.
Key Takeaways
| Point | Recommendation |
|---|---|
| Muscle groups | Full body — quads, chest, core, and calves fire hardest |
| Push-up | Include it — knee push-ups are fine if standard is too hard |
| Landing | Soft on the balls of the feet, knees bent — never stiff-legged |
| Tempo | Learn positions first, add speed later |
| Progression | Step-back → Half → Standard → Tuck jump |
Quick checklist — fix these before your next burpee session:
- Include a push-up (even from knees) — do not skip it
- Hinge at hips first, then squat — protect your lower back
- Land softly with bent knees — absorb the impact
- Plank stays straight — if hips sag, end the set
- Speed comes after consistency — slow and clean beats fast and sloppy
Next steps: If you have never done a burpee, start with 3 sets of 5 step-back burpees (no push-up, no jump) three times per week. Add one new element each week. For a complete conditioning circuit, pair burpees with bodyweight squats and push-ups — 10 reps of each, 3 rounds, rest 90 seconds between rounds.
Domande Frequenti
Quali muscoli lavorano i burpee?
Squat: quadricipiti e glutei. Plank: core e petto. Flessioni: pettorali e tricipiti. Salto: polpacci ed estensione esplosiva dell'anca.
Quanti burpee al giorno?
3-5 serie da 8-12 ripetizioni con 60-90 secondi di recupero come punto di partenza. Qualità prima della quantità.
I burpee fanno male alle ginocchia?
No, con tecnica corretta. Atterraggio morbido sull'avampiede con ginocchia leggermente flesse. Se ci sono problemi, togli il salto.