Dumbbell Back Workout: How to Single-Arm Dumbbell Row
Why Dumbbells Are Effective for Back Training
Dumbbells unlock a unique advantage for back training: independent arm action. Unlike a barbell row where both arms must move together, the single-arm dumbbell row forces each side to work unilaterally — exposing and correcting strength imbalances that the barbell can hide. A 2019 study in the Journal of Electromyography and Kinesiology found that unilateral dumbbell rows produced significantly greater latissimus dorsi activation compared to bilateral barbell rows when performed to fatigue.
The dumbbell also allows a greater range of motion. Because your working hand is free to travel past your torso midline, you can achieve a deeper stretch at the bottom and a harder squeeze at the top — something the barbell physically cannot replicate. The unsupported position also demands core stability, turning every rep into a anti-rotation challenge for your obliques and deep core muscles.
This guide focuses on the single-arm dumbbell row — the most fundamental and effective dumbbell back exercise.
How to Do the Single-Arm Dumbbell Row with Proper Form
The single-arm dumbbell row is a classic lat builder and the gold standard for unilateral back training. It targets the latissimus dorsi, rhomboids, rear deltoids, and biceps — making it a compound movement that builds both width and thickness.
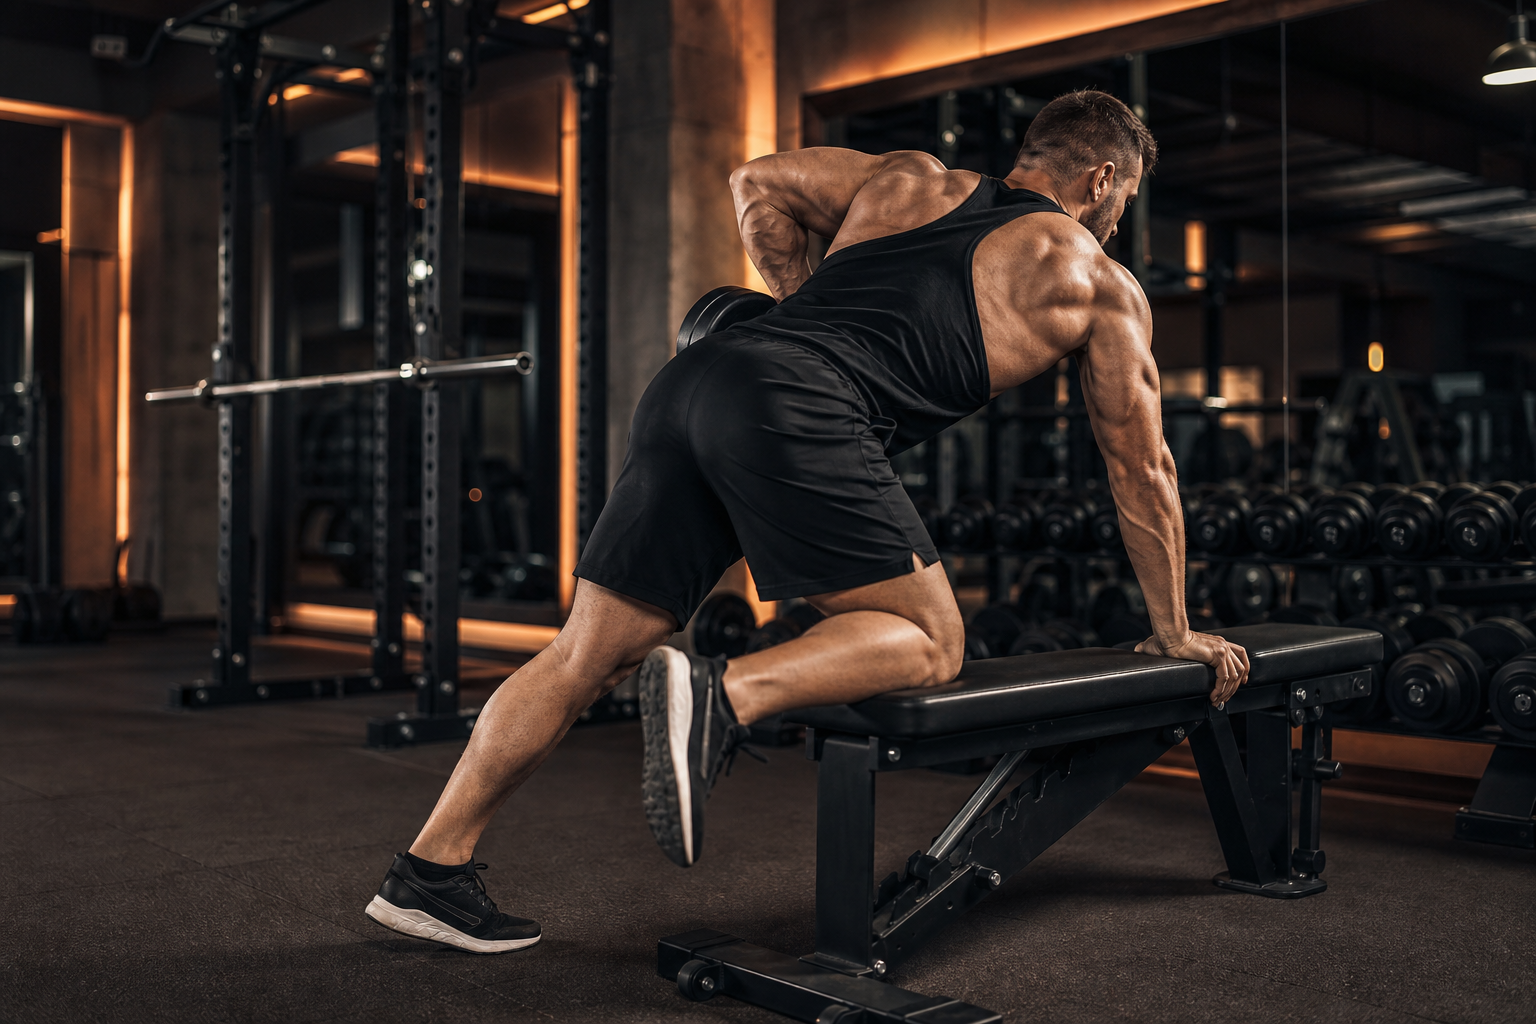
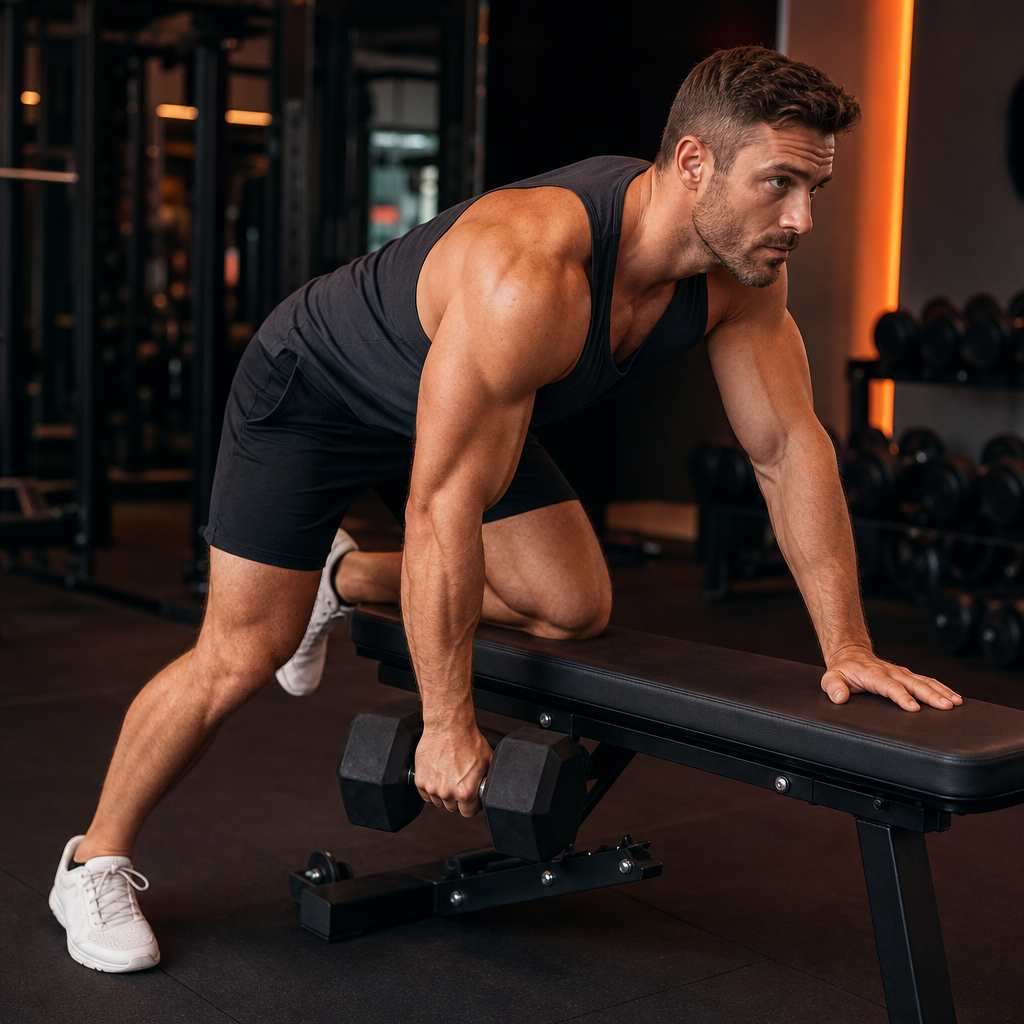
Step 1 — Position and Setup
Place one hand and the knee of the same side on a flat bench. Your other foot stays on the floor, positioned slightly back and to the side for a wide, stable base. Pick up the dumbbell with your free hand. Flatten your back — think of a straight line from your tailbone to the crown of your head. Brace your core to prevent rotation. Let the dumbbell hang at arm's length with your palm facing in (neutral grip). Your working shoulder should be slightly protracted, allowing a full stretch in your lat.
Step 2 — Lower (Eccentric)
From the top position, slowly lower the dumbbell in a controlled arc. Feel your lat stretch as the weight travels down — let your working shoulder protract slightly to increase the range. Do not simply drop the weight; the eccentric phase is where much of the muscle damage (and therefore growth) occurs. Take 2–3 seconds on the descent. At the bottom, your arm should be fully extended with a deep stretch across your entire lat.
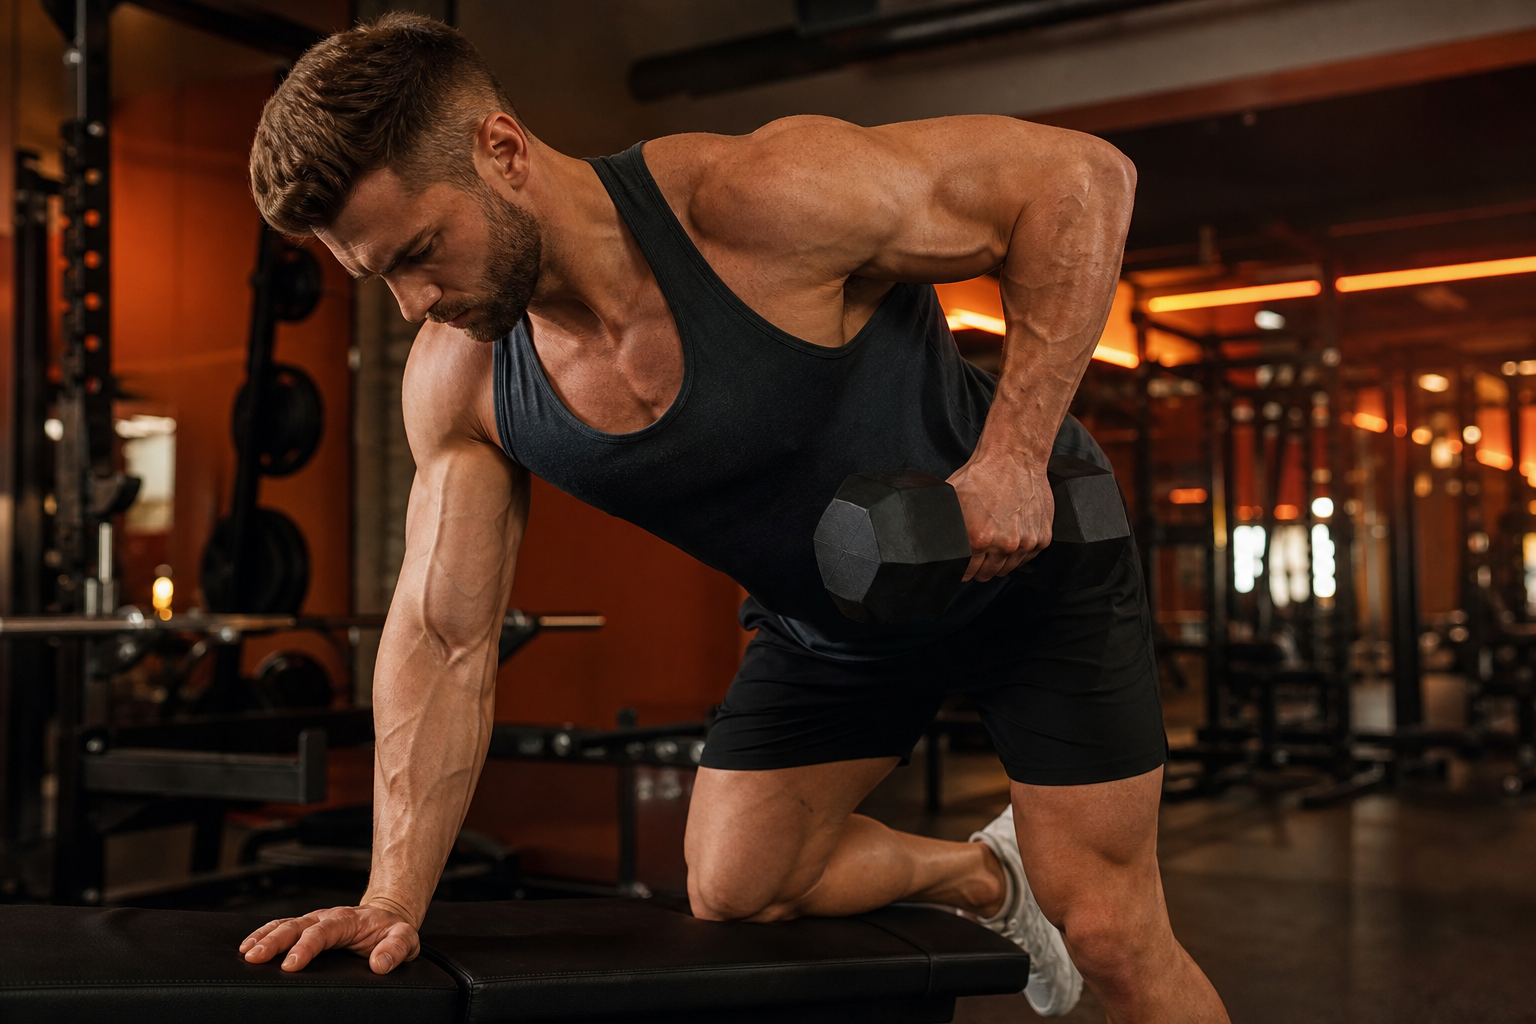
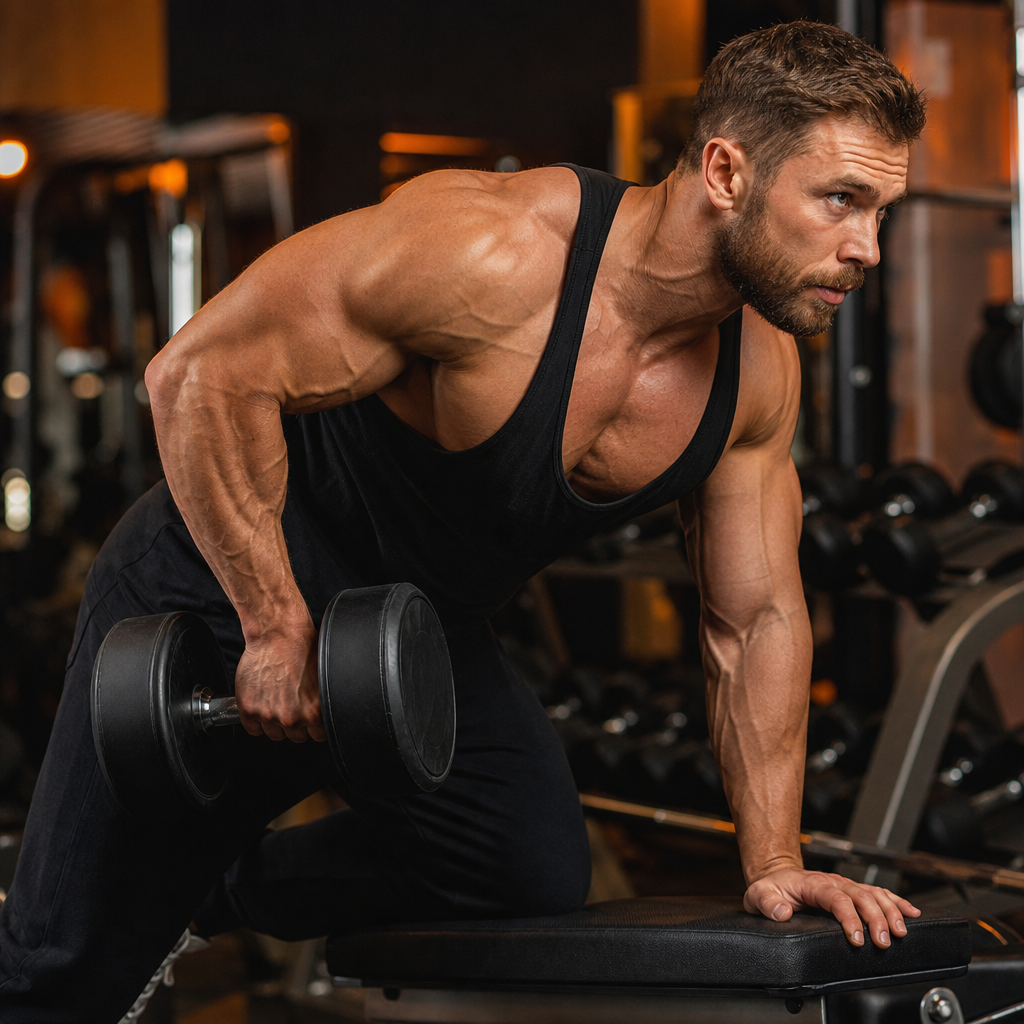
Step 3 — Pull (Concentric)
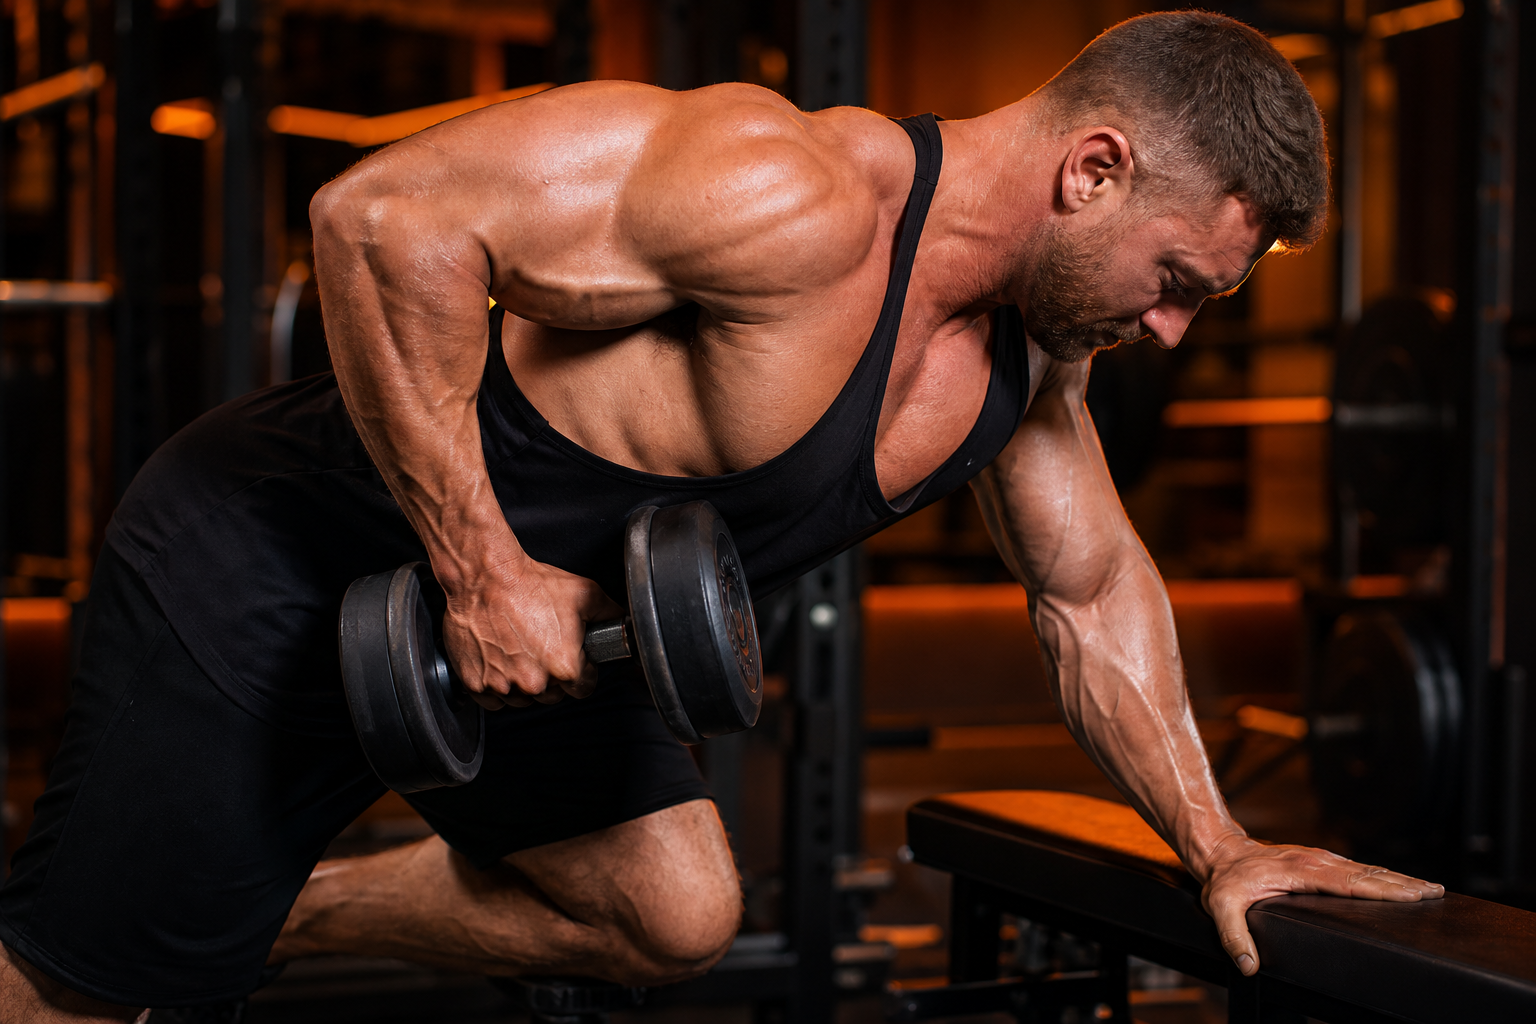
Drive your elbow back and up toward the ceiling — think about pulling through your elbow, not your hand. The dumbbell should travel in a slight arc toward your hip, not straight up. At the top, squeeze your shoulder blade (scapula) back and in toward your spine. Hold the contraction for a beat. Do not over-rotate your torso to get the weight higher — keep your chest facing the bench and your spine neutral throughout.
Step 4 — Breathing and Switch
Exhale as you pull the weight up, inhale as you lower it down. Complete all reps on one side before switching. When switching sides, re-establish your flat back position and braced core before starting the first rep. The non-working side should mirror the working side — hand and knee on the bench, flat back, wide base.
Single-arm dumbbell row setup and starting position
Single-arm dumbbell row pull and contraction at top
What Are the Best Dumbbell Row Variations for Every Level
Once you have mastered the standard bench-supported single-arm row, these variations add variety and target the back from different angles.
Standing One-Arm Row: Instead of placing your hand on a bench, hinge at the hips and brace your non-working hand on your thigh or a rack. This variation challenges your core and hip hinge stability more than the bench-supported version. It is ideal when a bench is not available or when you want to integrate more core work.
Chest-Supported Row: Lie face-down on an incline bench set to 30–45°, holding a dumbbell in each hand. Row both arms simultaneously. The chest support eliminates momentum and lower back stress entirely, forcing pure back engagement. This is an excellent choice for lifters with lower back issues or as a high-rep finisher.
Renegade Row: Start in a push-up position with a dumbbell in each hand. Row one dumbbell up while stabilizing with the other arm and your core. This is a full-body movement that combines back training with extreme core and shoulder stability. Use lighter weight than your standard row and focus on preventing hip rotation.
What Are the Most Common Dumbbell Row Mistakes
These errors reduce back activation and increase injury risk. Fix them to get the most out of every rep.
Twisting your torso: The most common mistake. Rotating your torso to help pull the weight shifts the load away from your lats and onto your obliques and momentum. Keep your chest facing the bench throughout the entire set. If you cannot pull the weight without rotating, it is too heavy.
Using momentum: Jerking the weight up with a hip thrust or body english reduces time under tension and bypasses the targeted muscles. The row should be a controlled pull — 1 second up, 2–3 seconds down. If you need to heave the weight, reduce the load.
Pulling with your biceps: If your biceps are burning more than your back, you are initiating the pull with your arm instead of your elbow. Think about driving your elbow back — your hand is just a hook holding the weight. A cue that helps: imagine your forearm is a rope attached to your elbow.
Rounding your lower back: A rounded spine under load is a recipe for disc injury. Maintain a flat or slightly arched lower back throughout the set. If your lower back fatigue is the limiting factor, switch to the chest-supported row variation.
Not using full range of motion: Cutting the rep short at the bottom (not letting the lat fully stretch) or at the top (not squeezing the shoulder blade) leaves growth on the table. Let your shoulder protract at the bottom for a full stretch, and retract it hard at the top for a full contraction.
What Are the Key Takeaways
| Point | Recommendation |
|---|---|
| Why dumbbells for back | Unilateral correction + greater ROM + core anti-rotation |
| Single-arm row setup | One hand + one knee on bench, flat back, core braced |
| Pull direction | Drive elbow back and up, dumbbell toward hip |
| Top contraction | Squeeze shoulder blade to spine, hold for a beat |
| Full ROM | Protract at bottom for stretch, retract at top for squeeze |
Quick mistake checklist:
- Twisting torso — keep chest facing bench, reduce weight
- Using momentum — controlled 1s up, 2–3s down
- Pulling with biceps — drive elbow back, hand is just a hook
- Rounding lower back — maintain flat or slightly arched spine
- Short ROM — full stretch at bottom, full squeeze at top
Recommended back day combination: Barbell row 4×8 + Single-arm dumbbell row 3×10 each + Chest-supported dumbbell row 3×12 + Face pulls 3×15. Heavy bilateral strength + unilateral correction + isolation = complete back development.
Frequently Asked Questions
Should I do single-arm rows or both arms at once?
Single-arm rows expose and fix strength imbalances between sides. Both-arms-at-once (chest-supported) is great for higher reps and less lower back stress. Program both across your training week.
How do I stop my torso from twisting during dumbbell rows?
Keep your chest facing the bench throughout the entire set. If you have to rotate to pull the weight, it is too heavy — reduce the load and focus on driving your elbow back.
Do dumbbell rows build back width or thickness?
They build both. Pulling your elbow high toward the ceiling emphasizes the lats (width), while squeezing your shoulder blade back targets the rhomboids and mid-traps (thickness).
Why do my biceps take over during dumbbell rows?
You are likely initiating the pull with your hand instead of your elbow. Think of your hand as a hook — drive your elbow back and up, and imagine your forearm is just a rope attached to it.